
Metoria Game Design: Modelling Torch Asset
12/09/15 12:26 Filed in: Metoria First Person Adventure
Modelling the 3D Torch Asset
This week i created a torch model for my game. The first step was to do a design drawing of the torch. Once the model was sketched, it was used a reference in Maya Autodesk.
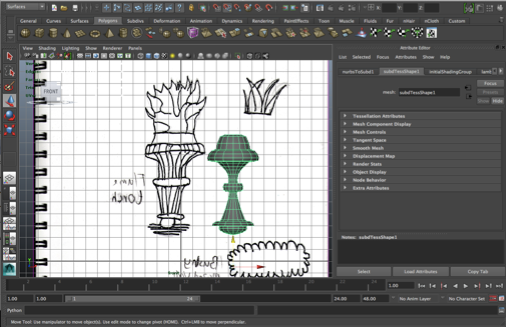
Figure 1: Sketched Drawing of the Torch.
In order to accurately design and get a more organic shape, I used a nurbs splines drawing tool.
Once the shape was drawn, i then used the NURBS spline function and it produced the result as shown below in figure 2.
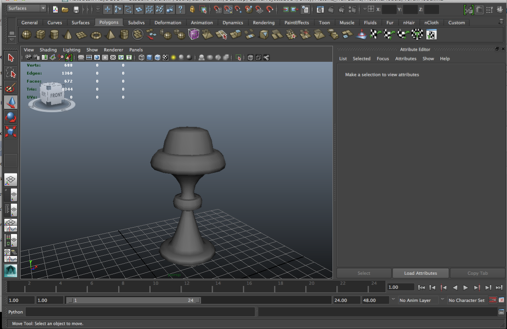
Figure 2: Torch Model
The next step is to add a texture to the mesh before importing it to Unity 3D.
Junior 3D Modeller Technical Exercise
Junior 3D Modeller Technical Exercise.
For the purpose of this task, I produced 3 models to demonstrate my 3D design skills, thought process and get a feel of the workflow used when designed house hold products.
In order to produce the products, 2D diagrams was used as a reference to get all the measurements. This is to ensure that the models matches the original products as close as possible. Once the measurements were made, I then designed the products using 3ds Max ’s tools such as Edit Poly and Edge loop.
After designing the models, I then selected my textures and laid out all my uv textures using the Unwrap UV tool in 3ds Max and Photoshop. The end result is shown below in figure 1 - 4.
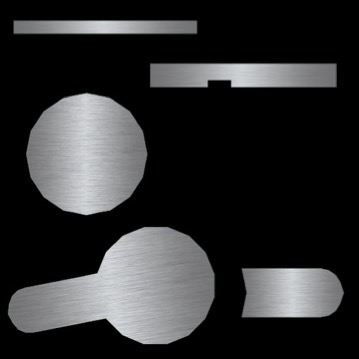
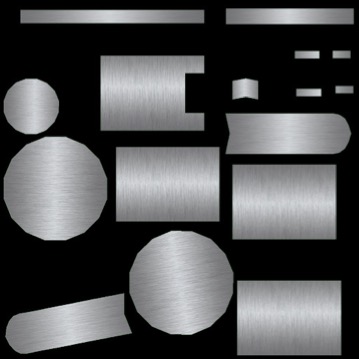
Figure 1&2: Central_basin_Mononloc_tap Uv Texture Maps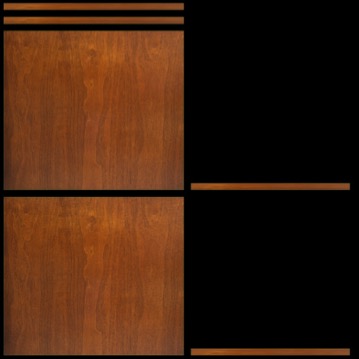
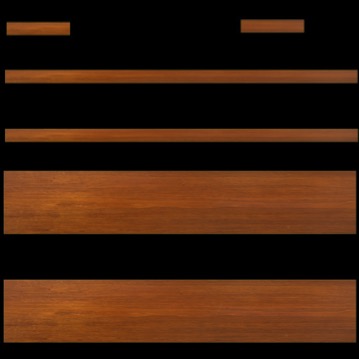
Figure 3&4: Central_60_Unit_American_Walnut Uv Texture Maps
Once the models are textured, they are ready to be rendered and viewed. The end result is showed below in Figure 5 - 7.
Figure 5: Central_60_Unit_American_Walnut
Figure 6: Central_basin_Mononloc_tap
Figure 7: Bolonia_Countertop