Zbrush /Maya Experiment
Blender: Experiment with Fluids
26/01/17 10:52
Blender: Experiment with Fluids
Blender is 3D Software that is used to produce animations, visual effects and 3D models for interactive applications and games.
The difference between Blender, Maya and 3ds Max is that the software is free which is ideal for students or any hobbylists such as myself.
In order to familiarise myself with the interface in blender, I decided to create a simple experiment with fluids.
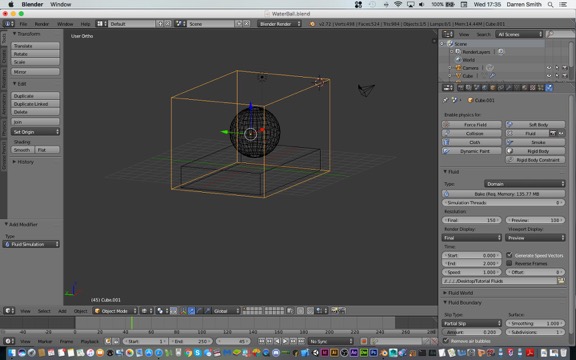
Figure 1: Object and Container set up for the fluid
The first thing I did was to create a 3D object and a container that can hold the fluids. This was done using the tools in blender to design the model, while the fluids were set up using the fluids emitter in the scene using the physics tab in the scene properties window.
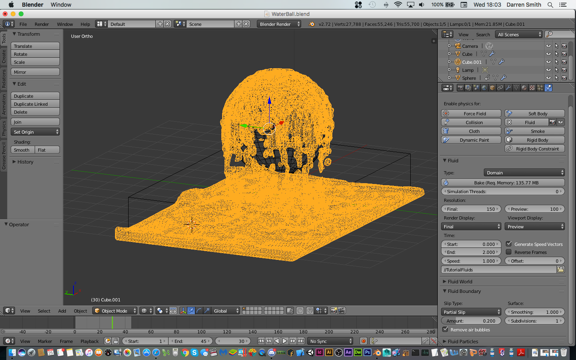
Figure 2: The fluid interacting with the ball
Once the fluid is created, the object is then animated. This is done by setting the keyframe in the animation slider before the object is moved in the scene. Once that is done, the animation is played and the object is interacting with the fluid by passing through the container. The figure above is the result of the animation.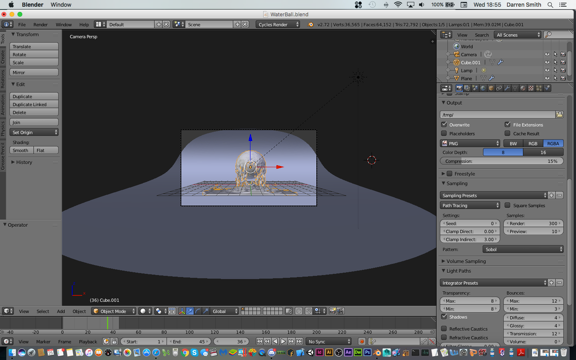
Figure 3: Setting up the camera shooting the fluid on the ball.
Once the animation is created, the next step is to add some lightning and camera to the scene. This is so the object can be rendered through the lens as the end result. Lastly material is added to the object and fluid to give it a sense of realism. In this case I chose the glass texture for the object to give it a sense of reflection against the fluid. Below is the end result.
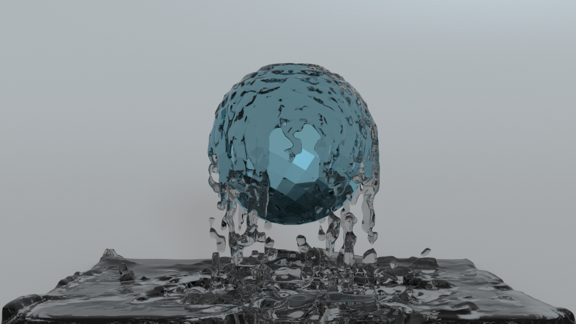
Figure 4: Final Render of the Fluid
NEXT STEP?
Experiment with the lightning / baking options in Blender so the object can be taken into Sketchfab for viewing purposes.
Junior 3D Modeller Technical Exercise
01/09/15 11:27
Junior 3D Modeller Technical Exercise.
For the purpose of this task, I produced 3 models to demonstrate my 3D design skills, thought process and get a feel of the workflow used when designed house hold products.
In order to produce the products, 2D diagrams was used as a reference to get all the measurements. This is to ensure that the models matches the original products as close as possible. Once the measurements were made, I then designed the products using 3ds Max ’s tools such as Edit Poly and Edge loop.
After designing the models, I then selected my textures and laid out all my uv textures using the Unwrap UV tool in 3ds Max and Photoshop. The end result is shown below in figure 1 - 4.
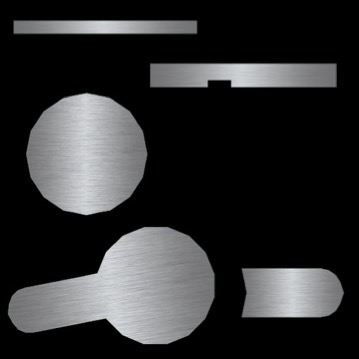
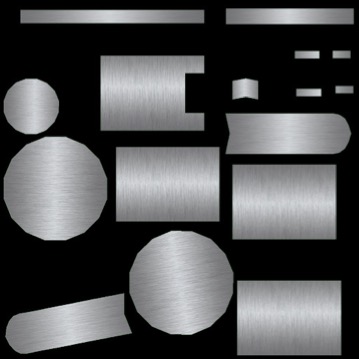
Figure 1&2: Central_basin_Mononloc_tap Uv Texture Maps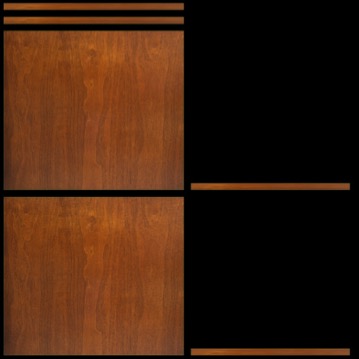
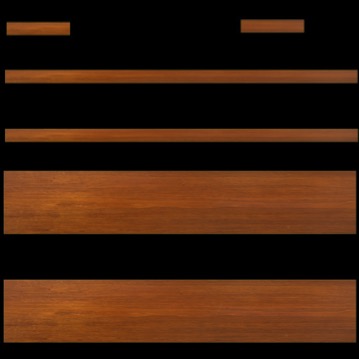
Figure 3&4: Central_60_Unit_American_Walnut Uv Texture Maps
Once the models are textured, they are ready to be rendered and viewed. The end result is showed below in Figure 5 - 7.
Figure 5: Central_60_Unit_American_Walnut
Figure 6: Central_basin_Mononloc_tap
Figure 7: Bolonia_Countertop
ZBrush Software Experiment
29/08/14 15:15
Z Brush Software Experiment
Recently I have downloaded Zbrush software. ZBrush is a powerful digital sculpturing tool that allows you to combine 2.5/3D models along textures and paintings. It is used to create high quality models(up to around 10 million pixels) which can be used in films and games and animations. Below is an example of using ZBrush ’s cylinders to draw the body frame.
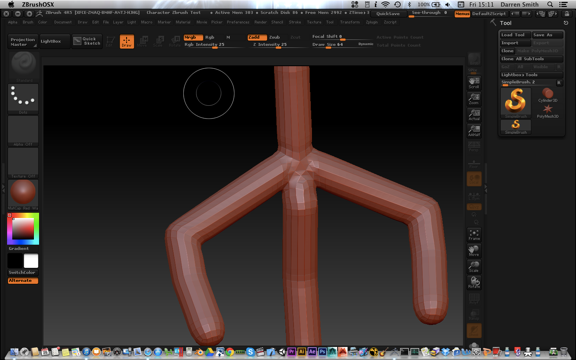
Figure 1: Stick Character Framework
With this program I will be able to develop simple and complex character models which will then be imported into future game projects animation projects.
3D Face Experiment
18/06/12 14:47
Today for the first time I decided to attempt to design a face. I watch some various videos on how to construct the face.
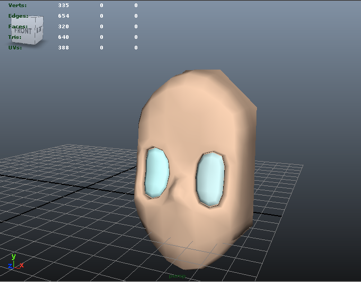
After watching I then went to maya, made a cube 3 x 4 x 3, then deleted the face at the back and started to move the vertex at the top and bottom constructing the face and top of the head. Afterwards I then extruded the eyes and scaled them to create the ball eyes, then extruded it again. Lastly for the nose i extrude it and scaled it, before extruding again to create the tip.
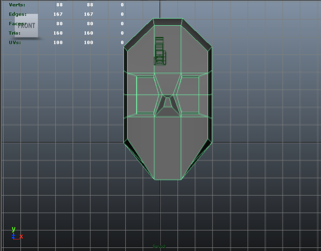
Figure 1: Non Smoothed Model
Afterwards I smoothed the face and added some materials to the face
and eyes sockets. What is next is to work on the mouth and creating the
hair and texturing the eyeball sockets.
After watching I then went to maya, made a cube 3 x 4 x 3, then deleted the face at the back and started to move the vertex at the top and bottom constructing the face and top of the head. Afterwards I then extruded the eyes and scaled them to create the ball eyes, then extruded it again. Lastly for the nose i extrude it and scaled it, before extruding again to create the tip.
Figure 1: Non Smoothed Model
Afterwards I smoothed the face and added some materials to the face
and eyes sockets. What is next is to work on the mouth and creating the
hair and texturing the eyeball sockets.